Scary Sharp Method for Mirror Edges
Introduction to the Scary Sharp Method
The Scary Sharp Method is a popular technique among woodworkers and DIY enthusiasts for achieving razor-sharp edges on tools, particularly chisels and plane blades. Unlike traditional sharpening methods that rely on expensive equipment like grinding wheels or honing guides, the Scary Sharp Method utilizes sandpaper and a flat surface to achieve a mirror-like finish. This method is not only cost-effective but also highly efficient, making it accessible to both beginners and seasoned craftsmen.
One of the key advantages of the Scary Sharp Method is its simplicity. By using progressively finer grits of sandpaper, you can achieve a level of sharpness that rivals professional sharpening systems. The process involves flattening the back of the blade and then honing the bevel to a fine edge. The result is a tool that cuts through wood like butter, with a polished edge that reflects light like a mirror.
However, achieving this level of sharpness requires patience and attention to detail. The method is called "scary sharp" for a reason—once you’ve mastered it, the edges you produce can be intimidatingly sharp. This article will guide you through the entire process, from the materials you’ll need to the step-by-step instructions for achieving mirror edges on your tools.
Materials Needed for the Scary Sharp Method
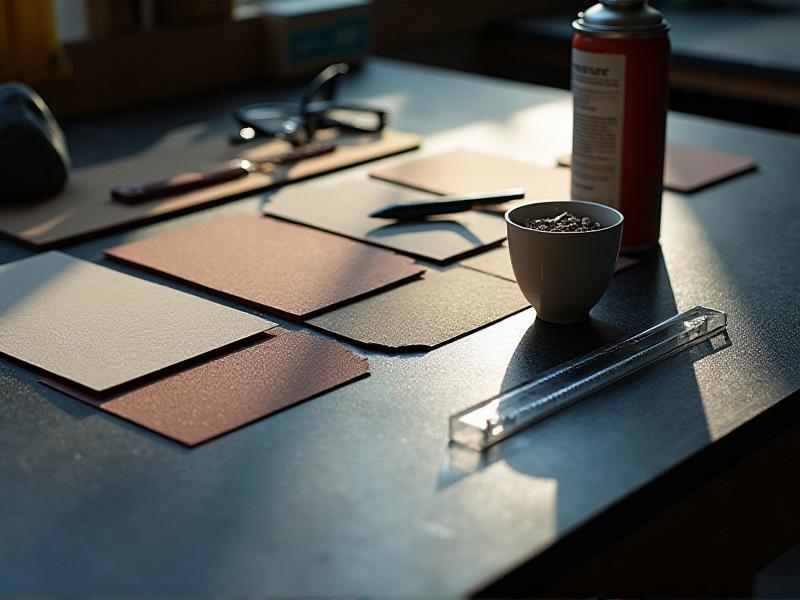
Before diving into the Scary Sharp Method, it’s essential to gather the right materials. The beauty of this technique lies in its simplicity, and you likely already have most of the items at home. Here’s what you’ll need:
Sandpaper: The cornerstone of the Scary Sharp Method, sandpaper comes in various grits. Start with a coarse grit (around 120-220) to remove nicks and imperfections, then progress to medium (400-600), fine (800-1200), and finally, ultra-fine grits (2000-5000) for polishing.
Flat Surface: A perfectly flat surface is crucial for achieving a sharp edge. A granite countertop, glass pane, or machined steel plate works well. Ensure it’s large enough to accommodate your tool and sandpaper.
Spray Adhesive: To keep the sandpaper securely attached to the flat surface, use a spray adhesive. This prevents the paper from shifting during sharpening, which could ruin your edge.
Marking Pen: A marking pen helps you track your progress. By coloring the edge of your tool, you can see where you’ve removed material and ensure even sharpening.
Safety Gear: Sharpening can produce fine dust and metal particles, so wear safety glasses and a dust mask. Additionally, keep a first aid kit nearby in case of accidental cuts.
With these materials in hand, you’re ready to begin the Scary Sharp Method. The next section will walk you through the step-by-step process of transforming a dull blade into a mirror-edged masterpiece.
Step-by-Step Guide to Achieving Mirror Edges
Now that you’ve gathered your materials, it’s time to dive into the Scary Sharp Method. Follow these steps to achieve a mirror-like edge on your tools:
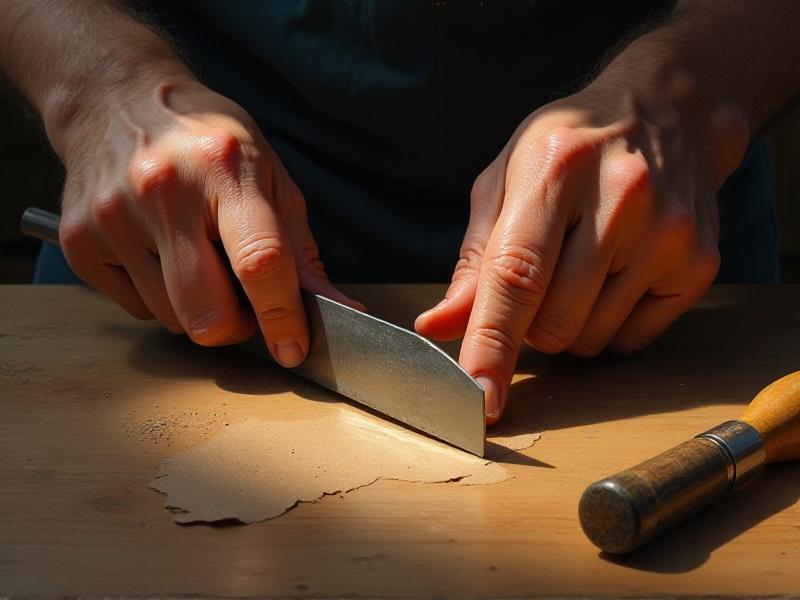
Step 1: Flatten the Back of the Blade: Start by attaching a coarse grit sandpaper to your flat surface using spray adhesive. Place the back of the blade flat on the sandpaper and move it in a circular motion. Check your progress with a marking pen—once the entire back is evenly sanded, move to a finer grit.
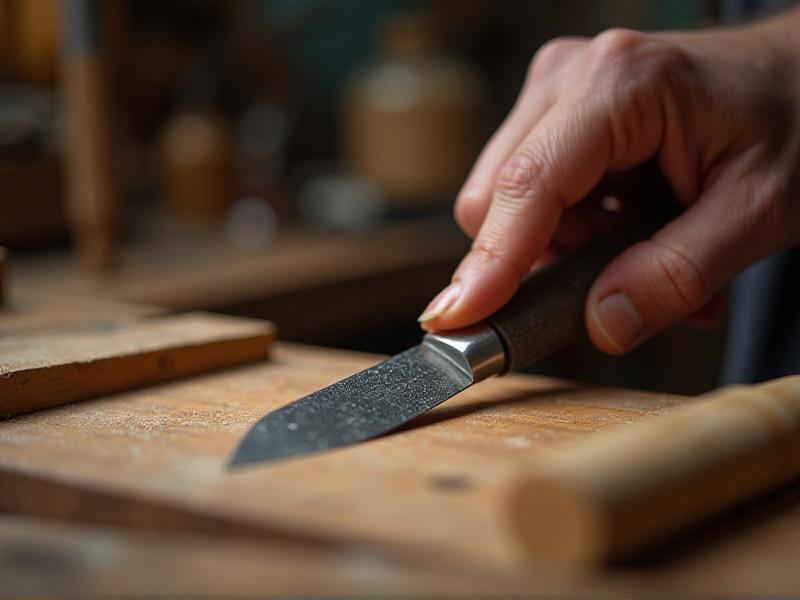
Step 2: Hone the Bevel: Next, focus on the bevel of the blade. Hold the tool at the correct angle (usually 25-30 degrees) and move it back and forth across the sandpaper. Progress through the grits, ensuring each step removes the scratches from the previous one.
Step 3: Polish the Edge: Once you’ve reached the ultra-fine grits, it’s time to polish the edge. This step is crucial for achieving the mirror finish. Use light pressure and make smooth, consistent strokes. The edge should now reflect light and feel razor-sharp.
Step 4: Test the Sharpness: Finally, test your tool’s sharpness. A properly sharpened blade should effortlessly cut through paper or shave wood without resistance. If it doesn’t, revisit the previous steps to ensure no imperfections remain.
By following these steps, you’ll master the Scary Sharp Method and produce edges that are both functional and visually stunning. The next section will explore the benefits of this technique and why it’s worth the effort.
Benefits of the Scary Sharp Method
The Scary Sharp Method offers numerous advantages that make it a favorite among woodworkers and DIY enthusiasts. Here are some of the key benefits:
Cost-Effective: Unlike traditional sharpening systems that require expensive equipment, the Scary Sharp Method relies on affordable materials like sandpaper and a flat surface. This makes it accessible to anyone, regardless of budget.
Portable: Since the materials are lightweight and compact, you can easily set up a sharpening station anywhere. Whether you’re in your workshop or on a job site, the Scary Sharp Method is always within reach.
Versatile: This method works on a wide range of tools, from chisels and plane blades to knives and scissors. Once you’ve mastered the technique, you can apply it to virtually any cutting tool.
High-Quality Results: With patience and practice, the Scary Sharp Method produces edges that rival those achieved with professional systems. The mirror finish not only looks impressive but also enhances the tool’s performance.
Eco-Friendly: By using sandpaper instead of water or oil stones, the Scary Sharp Method reduces waste and eliminates the need for messy cleanup. Simply dispose of the used sandpaper responsibly.
These benefits make the Scary Sharp Method an attractive option for anyone looking to sharpen their tools efficiently and effectively. In the next section, we’ll discuss common mistakes to avoid when using this technique.
Common Mistakes to Avoid
While the Scary Sharp Method is relatively straightforward, there are some common pitfalls that can hinder your progress. Here’s what to watch out for:
Inconsistent Pressure: Applying uneven pressure while sharpening can result in an uneven edge. Use consistent, controlled movements to ensure a uniform finish.
Skipping Grits: Progressing through the grits is essential for achieving a polished edge. Skipping a grit can leave scratches that are difficult to remove later.
Incorrect Angle: Holding the tool at the wrong angle can compromise the edge. Use a honing guide or practice maintaining the correct angle by hand.
Neglecting the Back: Flattening the back of the blade is just as important as honing the bevel. A flat back ensures the edge meets the wood cleanly.
Rushing the Process: Sharpening takes time and patience. Rushing through the steps can lead to subpar results. Take your time and focus on each stage.
By avoiding these mistakes, you’ll maximize the effectiveness of the Scary Sharp Method and achieve the best possible results. The final section will explore advanced tips and tricks for taking your sharpening skills to the next level.
Advanced Tips and Tricks
Once you’ve mastered the basics of the Scary Sharp Method, you can explore advanced techniques to further enhance your sharpening skills. Here are some tips to elevate your game:
Use a Honing Guide: For beginners, maintaining the correct angle can be challenging. A honing guide ensures consistency and accuracy, especially when working with multiple tools.
Try Micro-Mesh Pads: For an even finer polish, consider using micro-mesh pads. These ultra-fine abrasives can take your mirror finish to the next level.
Experiment with Stropping: After sharpening, strop the blade on leather or denim to remove any remaining burrs and further refine the edge.
Keep Your Workspace Clean: Dust and debris can interfere with the sharpening process. Regularly clean your flat surface and replace worn sandpaper for optimal results.
Practice Regularly: Like any skill, sharpening improves with practice. Dedicate time to honing your tools regularly, and you’ll soon achieve consistent, professional-quality edges.
These advanced techniques will help you refine your sharpening process and produce edges that are not only sharp but also durable and long-lasting. With dedication and attention to detail, the Scary Sharp Method can become an invaluable part of your woodworking toolkit.