Salvaging Rust-Welded Vise Mechanisms
Understanding the Rust-Welded Vise Mechanism
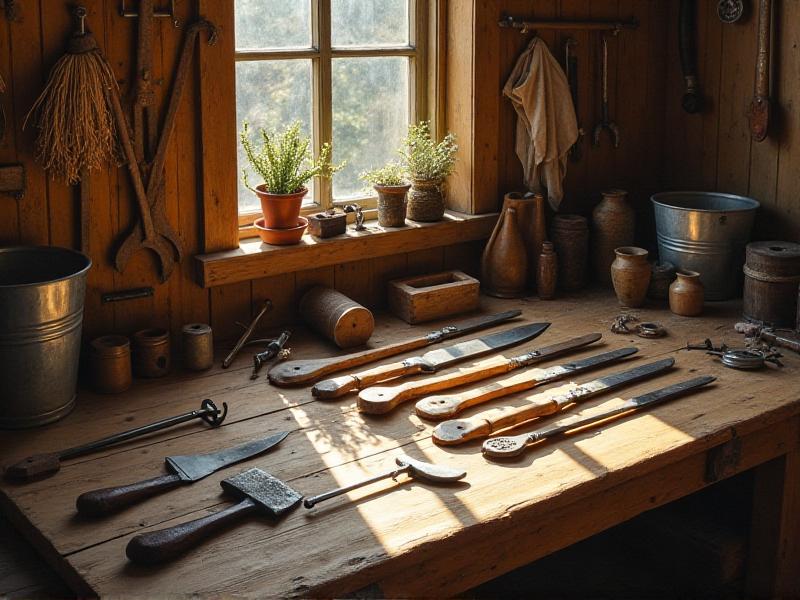
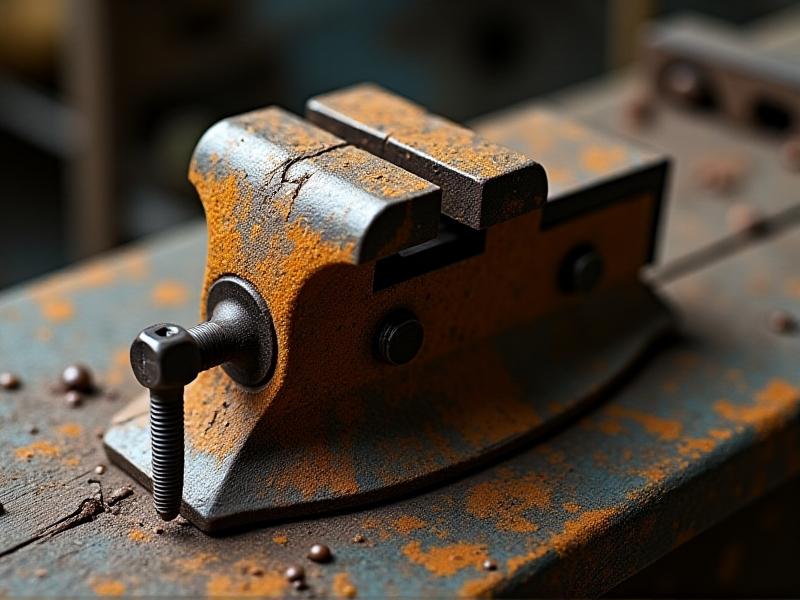
Rust-welded vise mechanisms are a common issue for those who work with metal tools, especially in environments where moisture and neglect are prevalent. A vise is an essential tool in any workshop, used to hold objects firmly in place while performing tasks like cutting, drilling, or shaping. However, when rust takes hold, it can cause the vise to seize up, rendering it useless. Understanding the structure of a vise and how rust affects its components is the first step in salvaging it.
Typically, a vise consists of a stationary jaw, a movable jaw, a screw mechanism, and a handle. The screw mechanism is the most vulnerable to rust because it relies on smooth movement to function. When rust accumulates, it can weld the components together, making it impossible to turn the handle or adjust the jaws. This process, known as rust welding, occurs when iron oxide (rust) forms a bond between metal surfaces, effectively fusing them together.
Salvaging a rust-welded vise requires patience, the right tools, and a methodical approach. Before diving into the restoration process, it’s important to assess the extent of the damage. Is the rust superficial, or has it deeply penetrated the mechanism? This assessment will determine the best course of action, whether it’s a simple cleaning or a more intensive restoration effort.
Essential Tools for Restoring a Rusted Vise
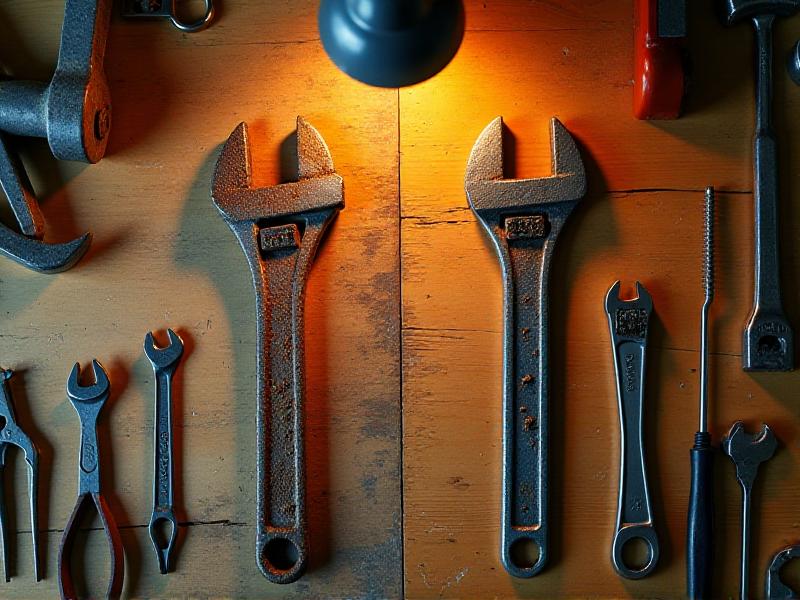
Restoring a rust-welded vise is a rewarding project, but it requires the right tools to ensure success. The first tool you’ll need is a penetrating oil, such as WD-40 or PB Blaster. These oils are designed to seep into tight spaces and break down rust, making it easier to loosen stuck components. Apply the oil generously to the affected areas and let it sit for several hours or even overnight to maximize its effectiveness.
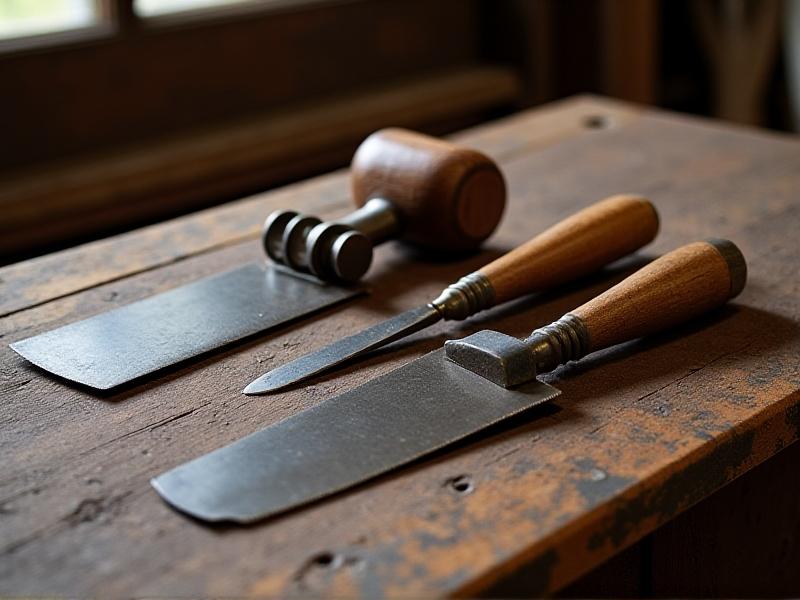
Next, you’ll need a wire brush or steel wool to scrub away surface rust. For deeper rust, consider using a rotary tool with a wire wheel attachment or sandpaper. These tools can help remove stubborn rust and restore the metal’s original surface. Be cautious not to remove too much material, as this can weaken the vise’s structure.
A hammer and a punch or drift pin are also essential for disassembling the vise. Use these tools to gently tap and loosen the screw mechanism or other stuck parts. If the vise is severely rusted, you may need a vice grip or pliers to provide additional leverage. Finally, have a lubricant like silicone spray or grease on hand to protect the restored vise from future rust.

Step-by-Step Guide to Disassembling a Rusted Vise
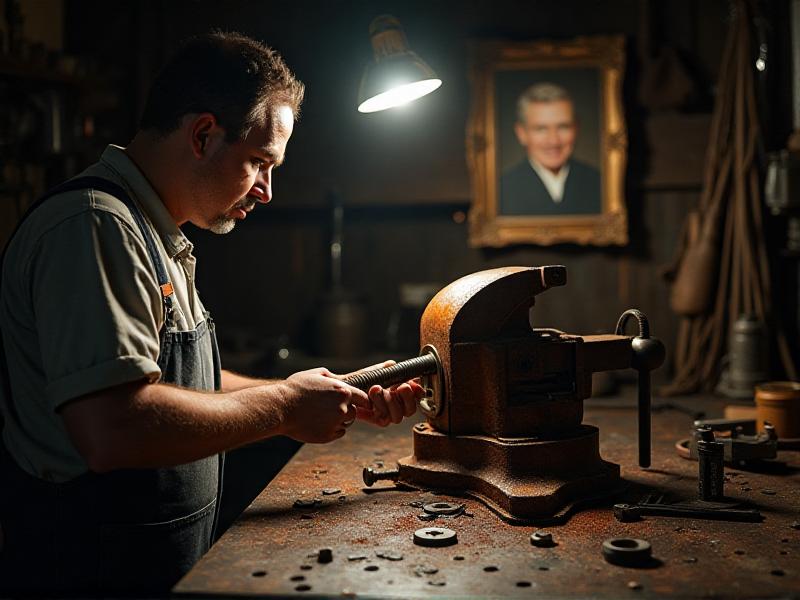
Disassembling a rusted vise can be a challenging task, but with the right approach, it’s entirely achievable. Start by securing the vise in a stable position, either clamped to a workbench or held firmly in place. This will prevent it from moving around while you work on it. Next, apply penetrating oil to all the rusted areas, paying special attention to the screw mechanism and the joints where the jaws meet the body.
After allowing the oil to work its magic, use a wire brush or steel wool to scrub away as much surface rust as possible. For deeper rust, switch to a rotary tool or sandpaper. Once the surface is clean, begin disassembling the vise. Start by removing the handle, if possible, and then focus on the screw mechanism. Use a hammer and punch to gently tap and loosen the components. If they’re still stuck, apply more penetrating oil and let it sit for a while longer.
Once the screw mechanism is free, carefully remove the movable jaw and inspect it for rust. Repeat the cleaning process for all disassembled parts. If any components are too damaged to salvage, consider replacing them. With all parts cleaned and ready, you can move on to reassembling the vise.
Cleaning and Restoring Vise Components
Cleaning and restoring the components of a rusted vise is a critical step in the restoration process. Begin by thoroughly cleaning each part to remove all traces of rust and dirt. Use a wire brush, steel wool, or sandpaper to scrub the surfaces, paying attention to crevices and hard-to-reach areas. For stubborn rust, a rotary tool with a wire wheel attachment can be highly effective.
Once the parts are clean, inspect them for damage. Look for cracks, warping, or excessive wear that could affect the vise’s functionality. If any components are beyond repair, consider replacing them with new parts. For parts that are salvageable, apply a rust converter or inhibitor to prevent future rust formation. These products chemically react with rust to create a protective layer, ensuring the vise remains in good condition.
After treating the parts, apply a lubricant to the screw mechanism and other moving parts. This will ensure smooth operation and protect against future rust. Silicone spray or grease are excellent choices for this purpose. With all components cleaned, treated, and lubricated, you’re ready to reassemble the vise.
Reassembling and Testing the Restored Vise
Reassembling a restored vise is the final step in the restoration process. Begin by carefully aligning the components and securing them in place. Start with the screw mechanism, ensuring it moves smoothly and is properly lubricated. Next, attach the movable jaw and adjust it to ensure it aligns correctly with the stationary jaw. Secure all bolts and screws tightly, but avoid over-tightening, as this can damage the threads.
Once the vise is fully reassembled, test its functionality. Turn the handle to open and close the jaws, checking for smooth operation. If the vise feels stiff or doesn’t move as expected, apply more lubricant and adjust the components as needed. It’s also a good idea to test the vise by clamping an object to ensure it holds securely.
With the vise fully restored and functioning properly, take steps to maintain its condition. Store it in a dry, protected area to prevent moisture exposure, and periodically apply lubricant to keep the mechanism moving smoothly. A well-maintained vise can last for years, providing reliable service in your workshop.
Preventing Rust in Vise Mechanisms
Preventing rust in vise mechanisms is essential to ensure their longevity and functionality. The first step is to store the vise in a dry, protected environment. Moisture is the primary cause of rust, so keeping the vise away from damp areas is crucial. If your workshop is prone to humidity, consider using a dehumidifier to control moisture levels.
Regular maintenance is also key to preventing rust. Periodically clean the vise to remove dirt and debris that can trap moisture. Apply a lubricant to the screw mechanism and other moving parts to protect against rust and ensure smooth operation. Silicone spray or grease are excellent choices for this purpose.
Another effective method is to apply a rust inhibitor or protective coating to the vise. These products create a barrier that prevents moisture from reaching the metal surface. For added protection, consider using a rust-resistant paint or finish. By taking these preventive measures, you can keep your vise in excellent condition and avoid the need for future restorations.