Creating Premium Tool Photography Setups
Introduction to Premium Tool Photography
Photographing tools is an art form that combines technical skill with creative vision. Whether you're showcasing hand tools, power tools, or specialized equipment, the goal is to highlight their functionality, design, and quality. Premium tool photography requires a thoughtful setup that emphasizes clarity, detail, and aesthetic appeal. This guide will walk you through the essential steps to create professional-grade tool photography setups, from selecting the right equipment to mastering lighting and composition.

Choosing the Right Equipment
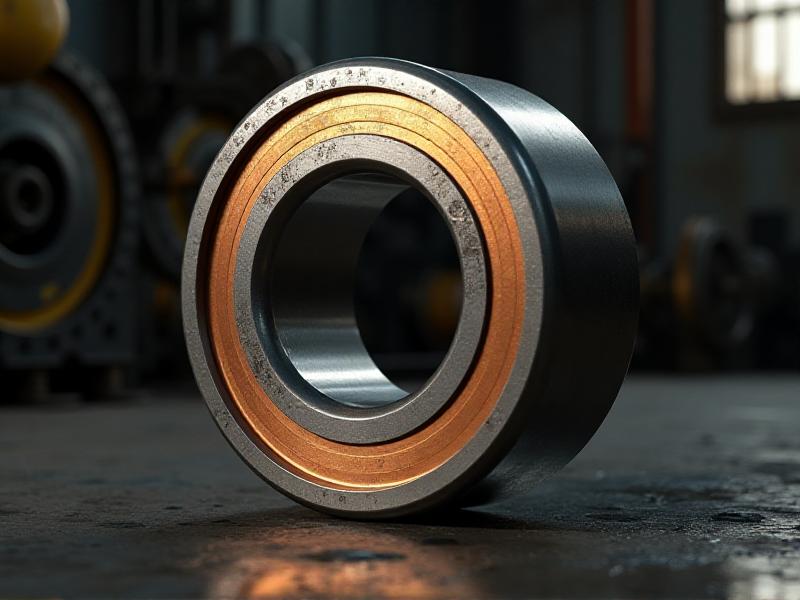
The foundation of any great photography setup is the equipment. For tool photography, a high-quality camera with a macro lens is essential to capture intricate details. A DSLR or mirrorless camera with manual settings allows for greater control over focus, aperture, and shutter speed. Tripods are indispensable for maintaining stability, especially when shooting in low light or using long exposures. Additionally, consider investing in a remote shutter release to minimize camera shake and ensure sharp images.

Setting Up the Perfect Background
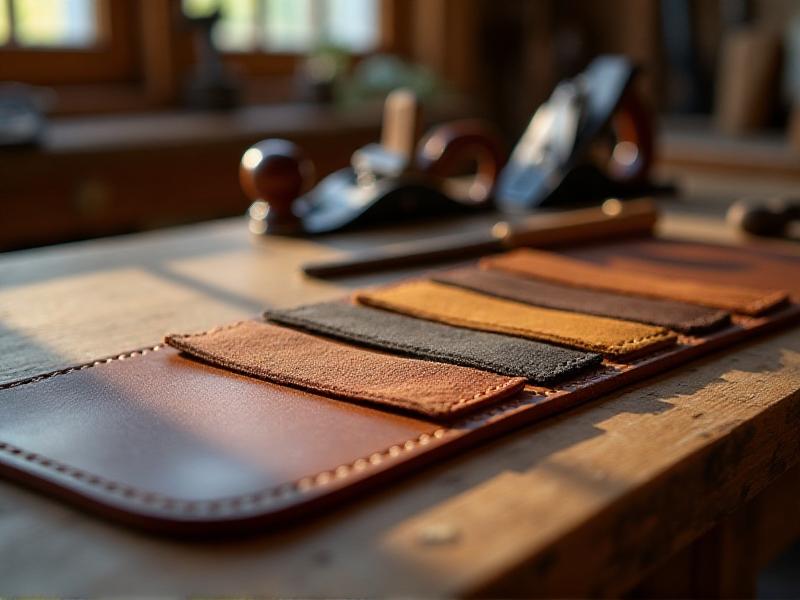
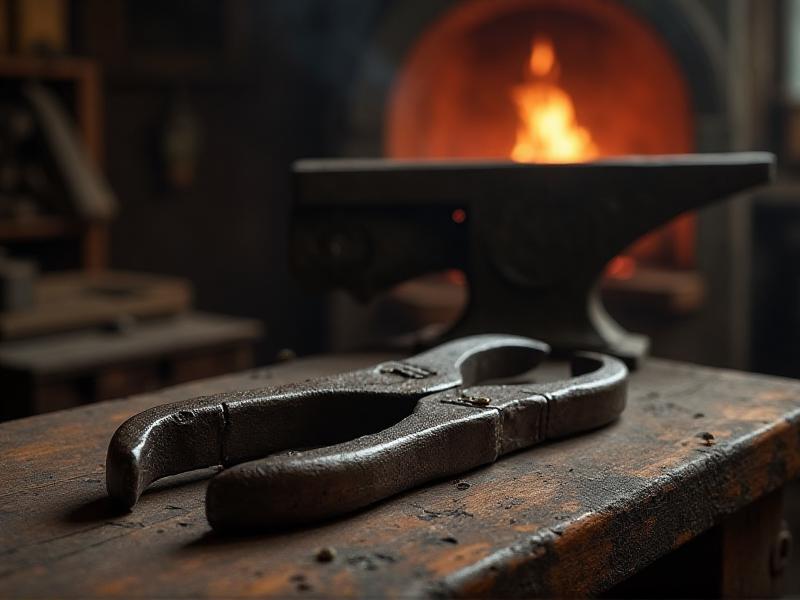
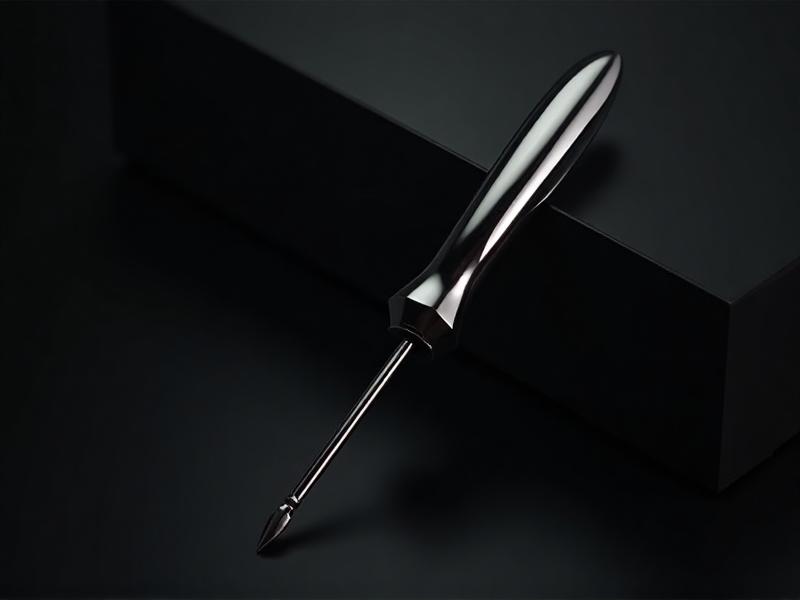
The background plays a crucial role in tool photography, as it sets the tone and context for the image. Neutral backgrounds, such as white or black, are ideal for highlighting the tool's features without distraction. For a more industrial feel, consider using textured surfaces like wood, metal, or concrete. Ensure the background is clean and free of clutter to maintain focus on the tool. If you're aiming for a lifestyle shot, incorporate elements like a workbench or tool belt to add context and storytelling.
Mastering Lighting Techniques
Lighting is the cornerstone of premium tool photography. Natural light is often the best choice for capturing true colors and textures, but it can be unpredictable. For consistent results, use softbox lights or LED panels to create diffused, even lighting. Avoid harsh shadows by positioning the lights at a 45-degree angle to the tool. Reflectors can help fill in shadows and add depth to the image. Experiment with different lighting setups to find the one that best showcases the tool's unique features.
Composition and Framing
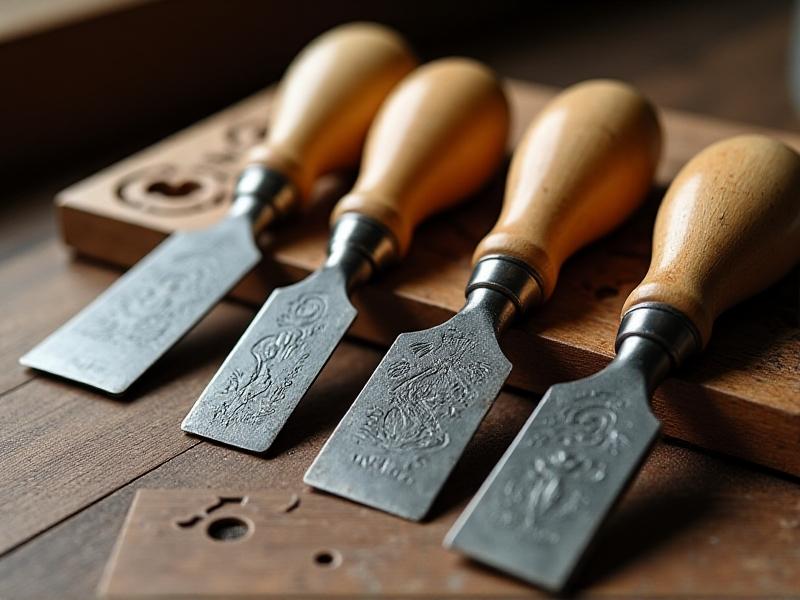
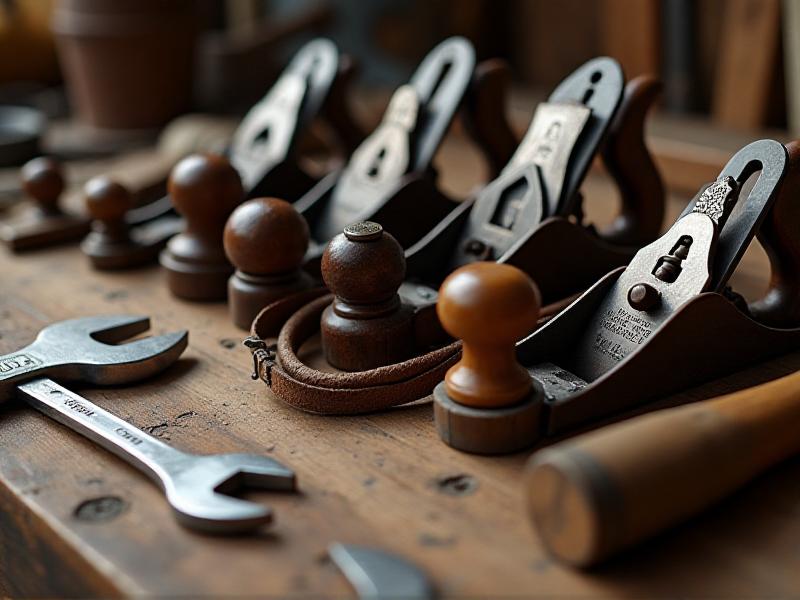
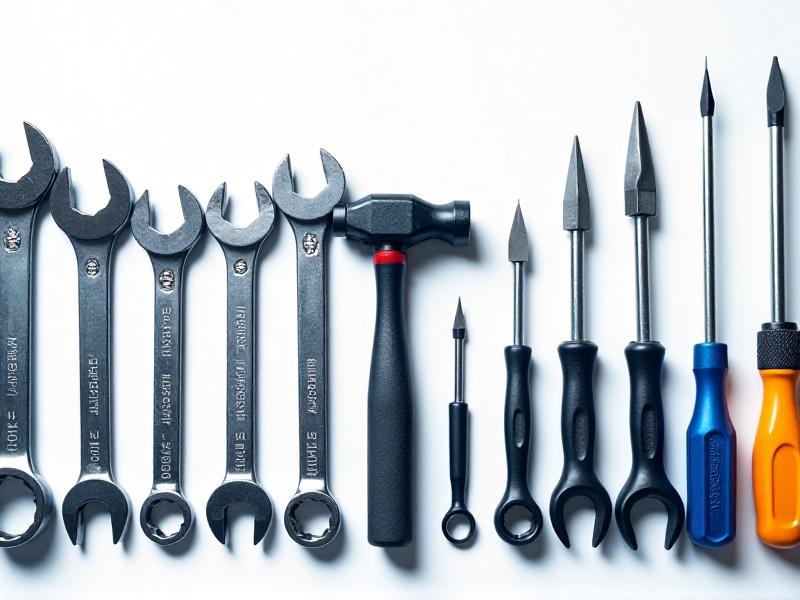
Composition is key to creating visually appealing tool photographs. Use the rule of thirds to position the tool off-center, creating a balanced and engaging image. Experiment with different angles, such as overhead shots or close-ups, to highlight specific features. Pay attention to negative space, ensuring the tool has room to "breathe" within the frame. If photographing multiple tools, arrange them in a way that tells a story or demonstrates their functionality together.
Post-Processing and Editing
Post-processing is the final step in creating premium tool photography. Use editing software like Adobe Lightroom or Photoshop to adjust exposure, contrast, and color balance. Sharpen the image to enhance details, but avoid over-editing, which can make the photo look unnatural. Remove any dust or imperfections using the clone or healing tools. Consider adding a subtle vignette to draw the viewer's eye to the tool. The goal is to enhance the image while maintaining its authenticity.
Styling and Props
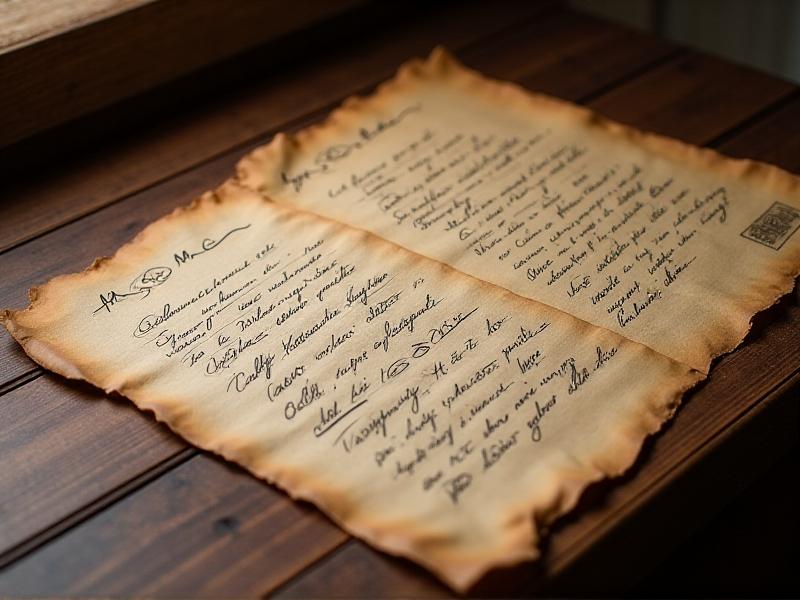
Styling and props can elevate your tool photography by adding context and personality. Use props like gloves, safety goggles, or toolboxes to create a narrative around the tool. For lifestyle shots, incorporate elements like wood shavings, screws, or blueprints to convey a sense of action and purpose. Be mindful not to overcrowd the frame; the tool should always remain the focal point. Choose props that complement the tool's design and intended use.
Showcasing Tools in Action
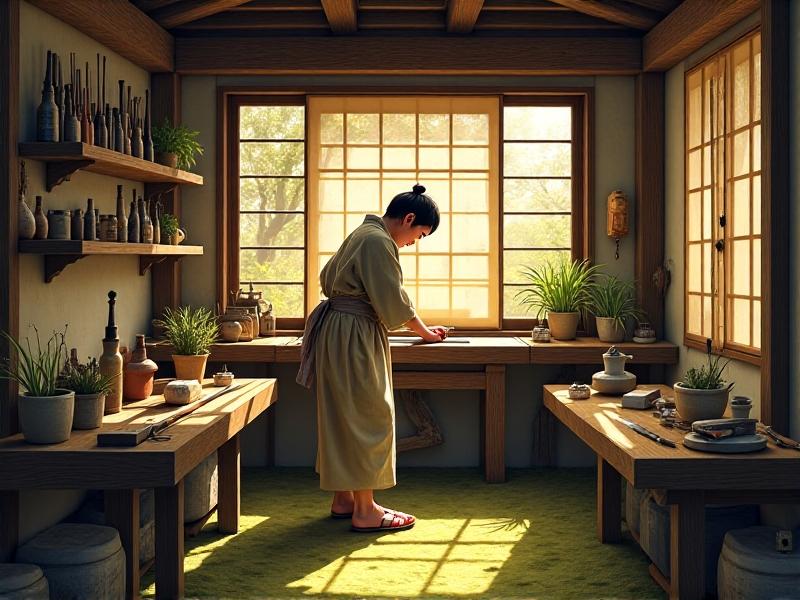
Photographing tools in action adds a dynamic element to your images. Capture the tool being used in its intended environment, such as a drill creating a hole in wood or a wrench tightening a bolt. Use a fast shutter speed to freeze the motion and ensure sharpness. Action shots not only highlight the tool's functionality but also engage the viewer by showing its practical application. Consider using a model or a pair of hands to add a human element to the shot.
Creating a Cohesive Portfolio
If you're photographing tools for a brand or portfolio, consistency is key. Use a uniform style, lighting, and background across all images to create a cohesive look. This not only strengthens your brand identity but also makes your portfolio more visually appealing. Organize your images into categories, such as hand tools, power tools, or specialized equipment, to make it easy for viewers to navigate. A well-curated portfolio demonstrates your skill and attention to detail.
Tips for Marketing Your Tool Photography
Once you've created premium tool photographs, it's time to share them with the world. Use social media platforms like Instagram and Pinterest to showcase your work and reach a wider audience. Collaborate with tool brands or manufacturers to create promotional content. Consider offering your services to e-commerce websites or magazines that feature tools and equipment. High-quality tool photography is in demand, and your skills can open doors to exciting opportunities.